Using Drone Imagery to Track Construction Progress
Why Drone Imagery Matters for Construction Progress Tracking
Construction projects are complex, with many moving parts across a large site. Keeping track of progress accurately and regularly is essential for staying on schedule and within budget. Traditional methods like manual site walks or ground-based photography can miss details and take up valuable time. Drone imagery offers a practical alternative: a fast, repeatable way to capture a complete picture of the site from above, giving project managers clear evidence of what has been done and what still needs attention.
Using a drone for progress tracking is not just about taking pictures. It is about turning aerial data into a reliable record that can be compared week after week. The real value comes when you combine regular flights with a system that organises the images and allows you to measure change. That is where a drone data platform becomes useful. It handles the processing and storage, so the team can focus on the insights rather than the file management.
Step 1: Plan Your Flight Schedule and Flight Path
The first step is deciding how often to fly. For most construction sites, a weekly flight works well. It captures enough detail to see progress without overwhelming the team with data. For fast-moving projects, such as earthworks or concrete pours, twice a week may be better. The key is consistency: fly at the same time of day, under similar lighting conditions, and from the same altitude. This makes later comparisons accurate and meaningful.
Plan the flight path to cover the entire site. Overlap between images is important if you later want to stitch them into an orthomosaic (a single, distortion-free map). Most consumer drones can be set to fly a grid pattern automatically. Watch out for obstacles like cranes, tall equipment, or power lines. Mark those on your flight plan to avoid collisions. Also check weather conditions: strong wind or low cloud can affect image quality and flight safety. Fly only when conditions are safe and the drone battery can complete the whole route.
Step 2: Capture Consistent, High-Quality Images
On flight day, make sure the camera settings are locked to manual. Auto settings can change exposure between images, making later comparisons unreliable. Set a fixed ISO, shutter speed, and white balance. For most daylight conditions, ISO 100 or 200 is enough. A fast shutter speed (1/1000 second or faster) prevents motion blur from the drone's movement.
Fly the planned grid and take images with 70-80% front overlap and 60-70% side overlap. This overlap is what lets the processing software create a seamless orthomosaic and a digital elevation model. After the flight, check the images on site. Look for blurry frames, areas that were missed because of a change in wind direction, or spots where the sun created harsh shadows. If you need to re-fly any section, do it the same day to keep the timeline clean. Label each flight with the date and a short note about site conditions (e.g., "wet ground after rain") so you can interpret changes later.
Step 3: Upload and Process the Data
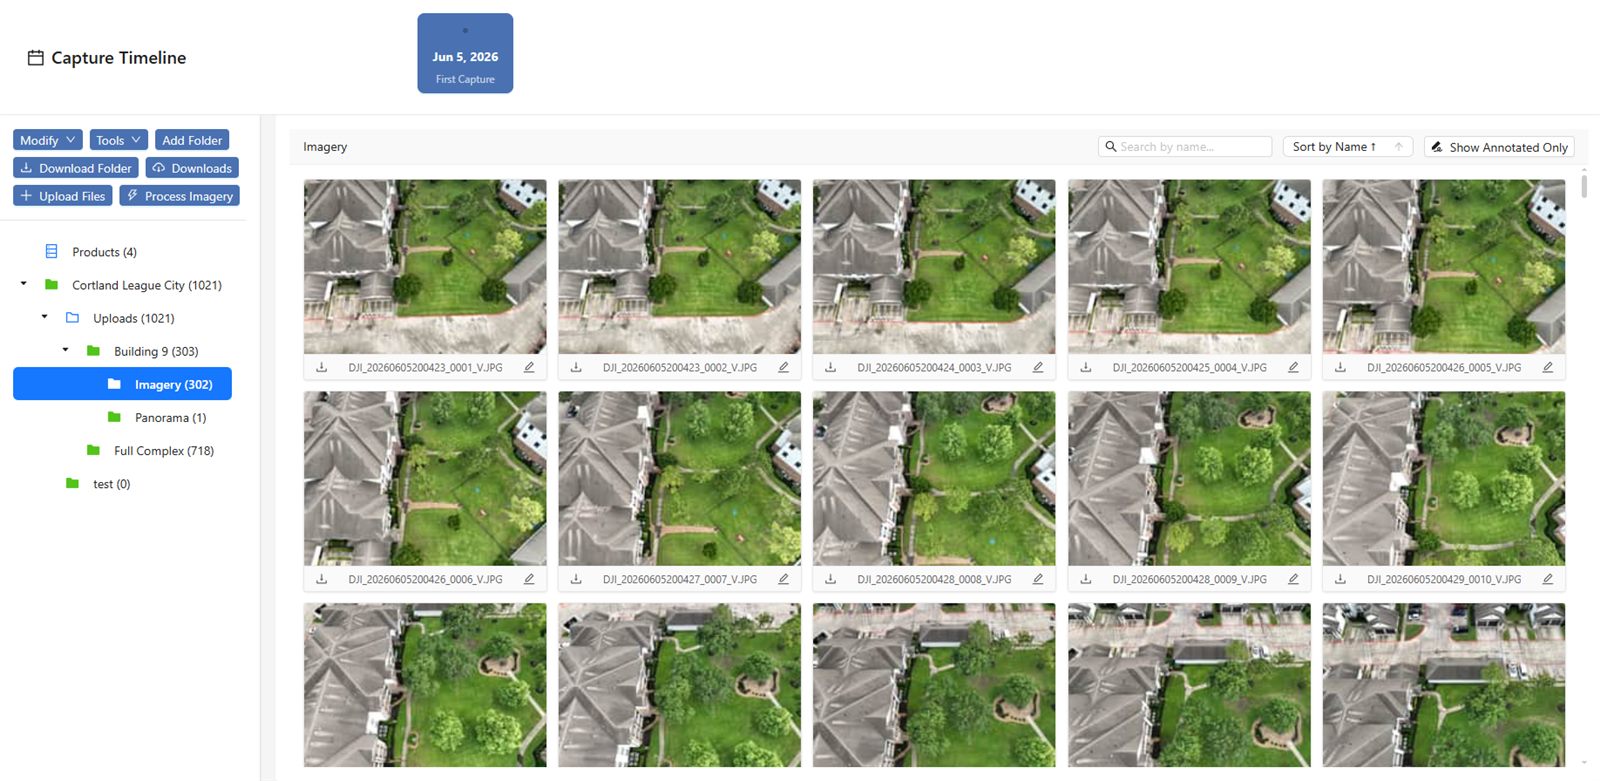
Once the images are on a computer, the next step is to upload them to a drone data platform that can handle photogrammetry. The platform stitches the individual images into an orthomosaic and may also generate a 3D point cloud or digital surface model. This processing can take a few hours depending on the number of images and the resolution needed. While it runs, the platform should also organise the output by date and project phase, so you can find any past survey quickly.
One option for this is the National Drone Services drone data management platform. It is built to upload, process, organise, and share aerial data, and it allows you to compare progress over time using aligned imagery. The platform handles the heavy lifting of alignment and measurement, so you do not have to align images manually in separate software. After processing, you can view the results as a layered map or a 3D model right in the browser, without needing specialised CAD tools.
Step 4: Compare Progress Over Time
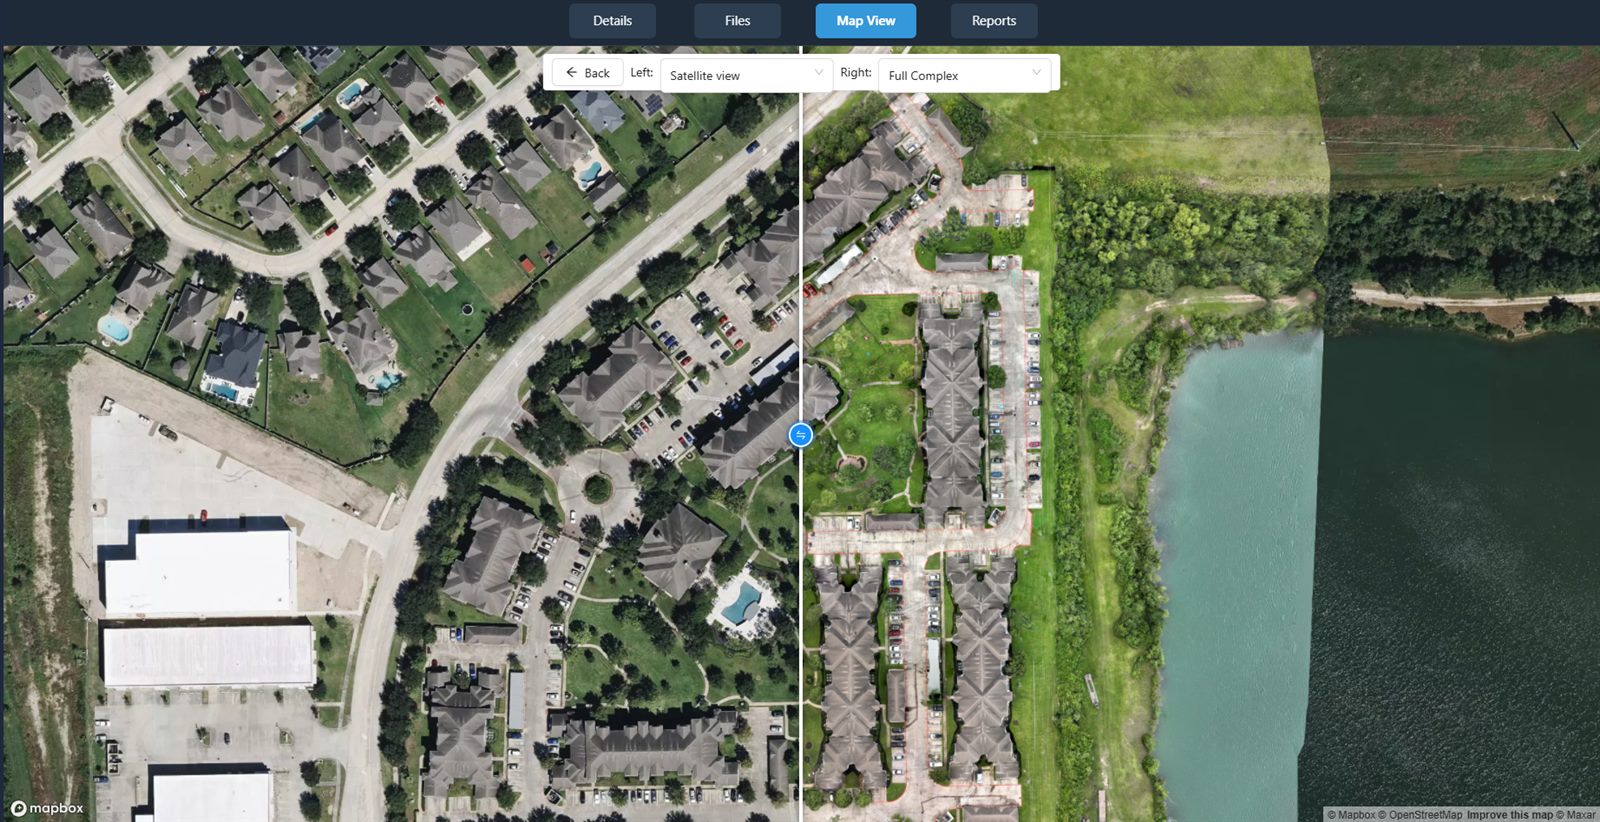
With processed imagery from two or more flights, you can start comparing. The most useful method is to overlay the orthomosaics from different dates. A good drone data platform will let you adjust transparency between layers or use a swipe tool to slide between dates. This makes it obvious where new foundations have been poured, where steel has been erected, or where earth has been moved.
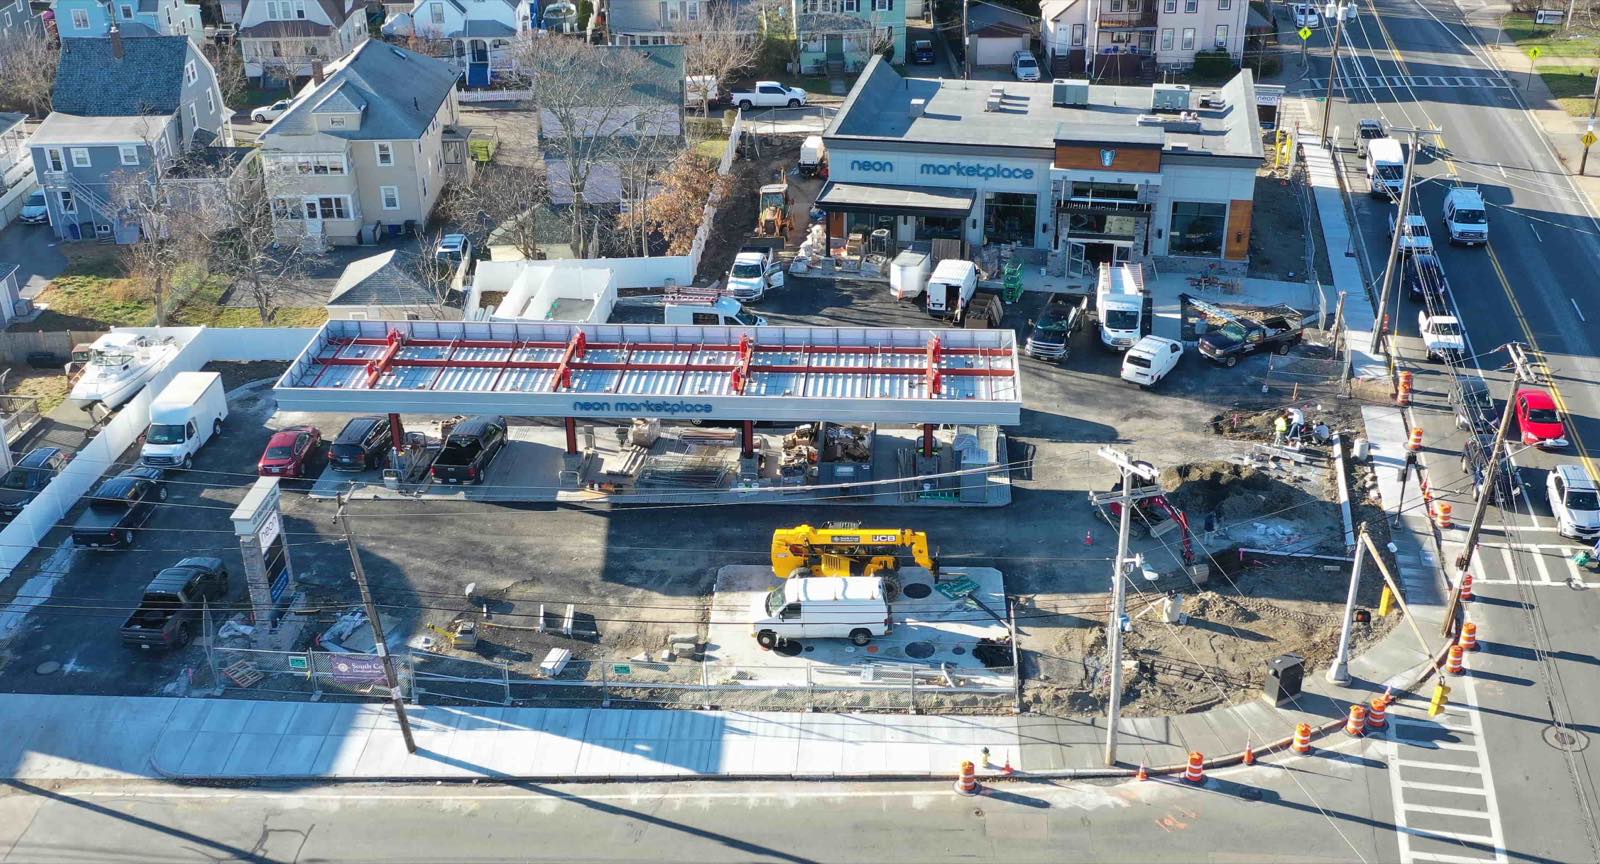
Watch for areas where progress is behind schedule. The imagery often shows subtle signs: a foundation that has not been backfilled, a section of wall that is still at the same height as last week, or materials that have been sitting in one spot for too long. Also check for quality issues. A tilted slab or misaligned formwork can be spotted from above when it might be missed at ground level. If you see something unusual, flag it for the site team to inspect in person.
For volumetric measurements, such as calculating how much material has been excavated or added, you can use the digital elevation models from each flight. Subtract one from the other to get a volume difference. This is more accurate than estimating from truck loads or manual surveys. It also gives you a clear record for billing or reporting to clients.
Step 5: Share and Report Findings
Progress tracking only works if the information reaches the right people. Use the platform to generate reports that combine the latest orthomosaic with annotations, measurements, and a timeline of milestones. Share a link with the project manager, the client, and subcontractors. Many platforms let you set permissions, so each person sees only what they need. A superintendent might need the full map and volume data, while a client may only want a simple overlay showing the percentage of work completed.
The National Drone Services drone data management platform is one example of a system that handles this kind of sharing and visualisation. It keeps all the data in one place and lets you compare, measure, and share without juggling multiple tools. Regular reports also serve as a legal record. If there is ever a dispute about when a certain stage was finished, the dated imagery and measurements are hard to challenge.
What to Watch Out For
Several common pitfalls can undermine the value of drone progress tracking. First, inconsistent flight parameters. If you change altitude, camera angle, or flight path between weeks, the images will not align properly, and comparisons become unreliable. Stick to a fixed flight plan and camera settings for every survey.
Second, forgetting to capture ground control points. For high accuracy in measurements, you need a few physical markers on the ground with known coordinates (surveyed with a GPS). These markers help the processing software georeference the images precisely. Without them, you can still compare visual progress, but volume calculations and distance measurements will be less accurate.
Third, data management. Raw drone files can be large, and if you do not organise them from the start, you will waste time later searching for the right flight. Use a consistent naming convention that includes the project name, date, and flight number. Upload to the platform soon after each flight, before files get mixed up with other projects.
Finally, do not assume that the imagery tells the whole story. A drone sees the site from above, but it cannot see behind walls, inside closed structures, or underground. Use the aerial data as a complement to on-site inspections, not a replacement. When you see something unexpected from the air, send someone to check it on the ground.
Making It Routine
Once you have the process down, it becomes a routine that saves time and reduces uncertainty. The weekly flight, the upload and processing, the comparison, and the report can happen in a predictable cycle. Over the course of a project, the collection of dated orthomosaics becomes a valuable archive. You can look back at any point to see exactly what the site looked like, which decisions were made when, and how the work progressed. That kind of record is useful for future bids, for training new team members, and for protecting yourself if a question arises later.
The technology itself is not the hard part. What makes it work is the discipline to fly on schedule, to keep settings consistent, and to use a platform that turns raw images into organised, comparable data. With those pieces in place, drone imagery becomes a reliable tool for keeping any construction project on track.
National Drone Services on social media
 Facebook